
How to Create Custom Drapes with Designer Fabrics
Struggling to find window treatments that match your unique style and keep your Southeastern U.S. home comfortable? Accurate measurements are the foundation for creating custom drapes that look beautiful and help control indoor temperature. By focusing on precision and selecting designer fabrics, you’ll discover how to craft window treatments that balance visual appeal with energy efficiency and durability, making every room feel more inviting.
Table of Contents
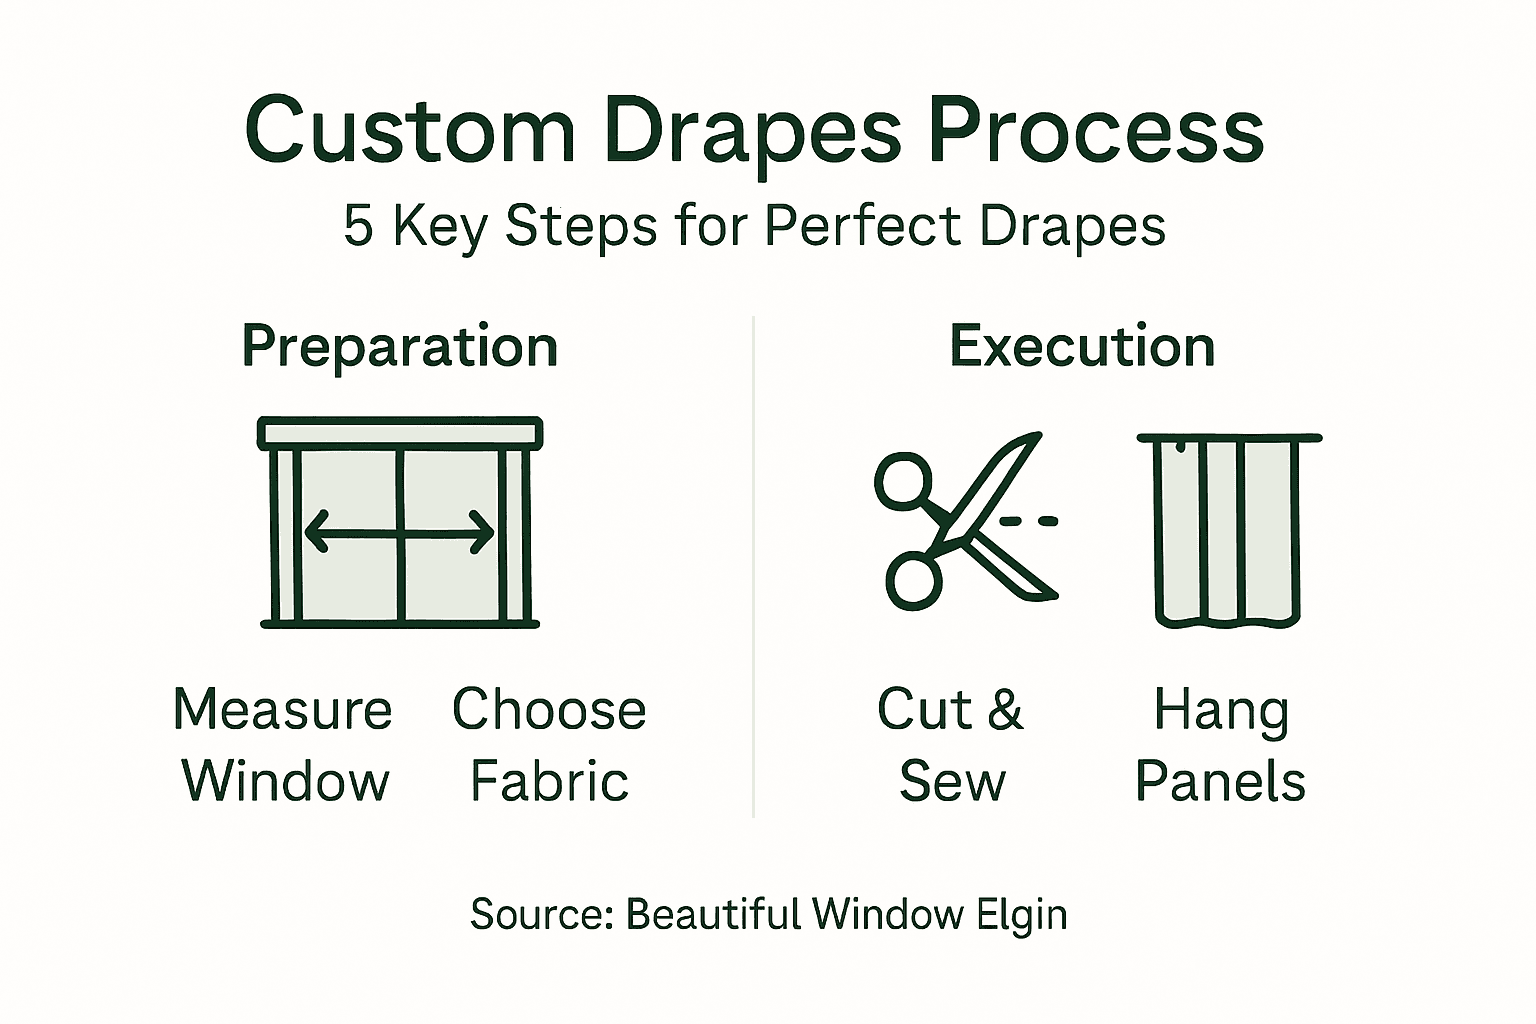
- Step 1: Select And Measure Your Window For Custom Fit
- Step 2: Choose And Prepare Designer Drapery Fabrics
- Step 3: Cut And Sew Fabric For Precise Drape Panels
- Step 4: Attach Hardware And Hang Finished Drapes
- Step 5: Check Alignment And Make Finishing Adjustments
Quick Summary
| Main Insights | Detailed Explanation |
|---|---|
| 1. Accurate Measurements Matter | Measure width and height precisely to ensure a perfect custom fit for your drapes. Redo measurements to confirm accuracy before cutting fabric. |
| 2. Choose the Right Fabric | Select fabrics based on weight, texture, and light transmission to achieve desired aesthetics and functionality. Prioritize durability and ease of care. |
| 3. Cutting and Sewing Techniques | Use sharp tools and precise methods when cutting fabric to maintain clean edges. Reinforce seams for durability and consider adding lining for enhanced appearance. |
| 4. Proper Hardware Installation | Choose hardware suitable for your fabric weight and style. Ensure correct mounting for both aesthetics and functionality of the drapes. |
| 5. Final Adjustments Enhance Appearance | Inspect drapes for even hanging and symmetry. Make minor adjustments to hems and test functionality for a polished finish. |
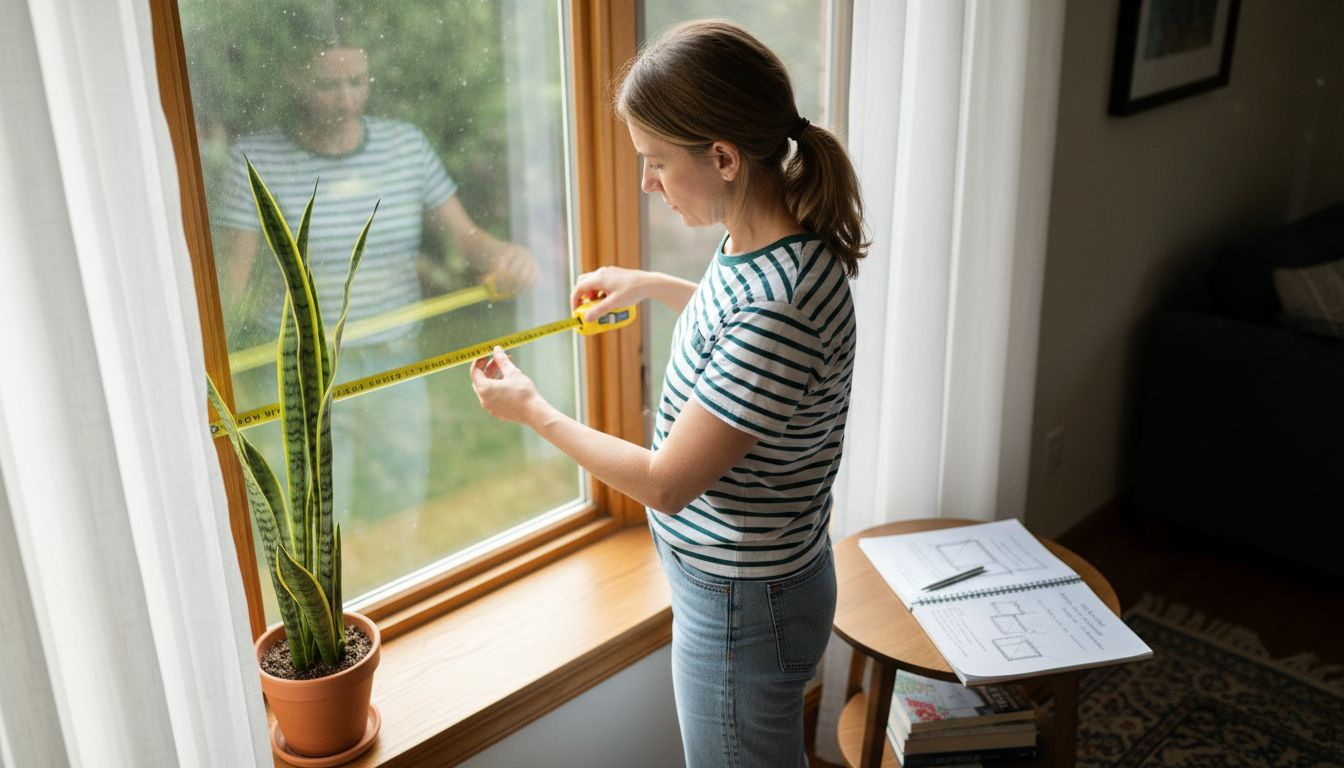
Step 1: Select and measure your window for custom fit
Selecting and measuring your window accurately is the critical first step in creating stunning custom drapes that transform your living space. Getting precise measurements ensures your fabric investment results in perfectly fitted window treatments that enhance both aesthetics and functionality.
To achieve a professional custom fit, you’ll want to measure your window thoroughly. Start by gathering essential tools: a metal tape measure (fabric or cloth tape can stretch), pencil, paper, and a sturdy ladder or step stool for hard-to-reach areas. Measuring windows requires precision and attention to detail, especially when considering window energy efficiency factors.
Here are the key measurement steps:
- Measure the width at three points: top, middle, and bottom of the window frame
- Record the smallest width measurement to ensure proper fit
- Measure the height from the top of the window frame to where you want the drapes to end
- Add 4-6 inches to your height measurement for proper drape hanging and hem allowance
- For outside-mounted drapes, measure the entire area you want to cover, including frame
Precision matters: Always measure twice to confirm accuracy before cutting your designer fabric.
Pro tip: Always round measurements to the nearest eighth of an inch for the most accurate custom drape sizing.
Step 2: Choose and prepare designer drapery fabrics
Choosing the right designer drapery fabric is an art form that transforms your window treatments from basic coverings to stunning interior design statements. The fabric you select will determine not just the look of your drapes, but their functionality, durability, and overall impact on your living space.
When selecting fabrics, consider multiple critical factors including sustainable fabric characteristics. Start by evaluating your room’s specific requirements: light filtration, privacy needs, aesthetic style, and maintenance expectations. Your fabric choices will range from luxurious natural fibers to contemporary synthetic blends.
Here are key considerations for fabric selection:
- Fabric Weight: Heavier fabrics provide better insulation and drape
- Texture: Smooth silks, textured linens, or soft cottons each create different visual effects
- Light Transmission: Sheer fabrics allow more light, while dense weaves block sunlight
- Color and Pattern: Choose designs that complement your existing room decor
- Maintenance: Consider washability and wrinkle resistance
Designer fabrics are an investment. Select materials that balance aesthetic appeal with practical functionality.
Preparing your chosen fabric is equally important. Inspect the material carefully for any imperfections, and if recommended, prewash to prevent shrinkage after creating your custom drapes. Some delicate fabrics might require professional treatment or special handling during the cutting and sewing process.

Here’s a comparison of common drapery fabric types to assist your selection:
| Fabric Type | Appearance | Durability | Care Requirements |
|---|---|---|---|
| Linen | Light, textured | Moderate | Dry clean recommended |
| Cotton | Soft, matte | High | Machine washable |
| Silk | Elegant sheen | Low to moderate | Professional cleaning |
| Synthetic | Versatile, smooth | Very high | Easy to maintain |
| Velvet | Rich, plush | High | Steam clean preferred |
Pro tip: Always purchase 10-15% extra fabric to account for potential errors or pattern matching during the cutting process.
Step 3: Cut and sew fabric for precise drape panels
Transforming your carefully selected designer fabric into perfectly tailored drape panels requires precision, patience, and the right techniques. This critical stage determines the final look and functionality of your custom window treatment.
Professional drapery making hinges on precise cutting and sewing techniques. Begin by laying out your fabric on a clean, flat surface with ample space. Use sharp fabric scissors or a rotary cutter to ensure clean, straight edges that will create professional-looking drapes.
Key steps for cutting and sewing include:
- Prepare Your Workspace: Use a large cutting mat or smooth surface
- Mark Cutting Lines: Use chalk or fabric markers for precise measurements
- Cut Fabric: Follow measurement lines carefully, keeping fabric taut
- Hem Techniques: Choose appropriate hem width based on fabric weight
- Reinforcement: Add interfacing to prevent fraying and maintain shape
Precision is paramount: Even a quarter-inch deviation can impact the entire drape’s appearance.
When sewing, select thread that matches your fabric color and use a machine needle appropriate for the fabric weight. Create strong, flexible seams that allow for natural fabric movement. Consider adding lining or interlining for additional weight and light control, which can significantly enhance the drapes’ professional finish.
Pro tip: Test your sewing tension and stitch on a fabric scrap before working on your final panels to ensure perfect results.
Step 4: Attach hardware and hang finished drapes
The final stage of creating custom drapes transforms your carefully crafted panels into a stunning window treatment that elevates your interior design. Proper hardware installation is crucial for both aesthetic appeal and functional performance.
Successful drapery installation depends on strategic hardware mounting techniques. Select hardware that complements your fabric’s weight and style, ensuring sturdy support and smooth operation. Your mounting hardware should not only look elegant but also provide reliable support for your custom drapes.
Key steps for hardware installation include:
- Choose Compatible Hardware: Match rod style to fabric weight and room decor
- Locate Mounting Brackets: Mark precise locations above window frame
- Use Proper Tools: Level, drill, wall anchors for secure installation
- Attach Rod Supports: Ensure level and evenly spaced mounting points
- Hang Drape Panels: Carefully attach panels using rings or hooks
Precision matters: Improperly mounted hardware can compromise both the look and functionality of your custom drapes.
When hanging your drapes, consider the total visual impact. Position rods slightly wider and higher than the window frame to create an illusion of larger windows and allow maximum light when panels are open. Check that panels hang evenly and move smoothly along the rod.
Use this table for a quick reference on drapery hardware and its advantages:
| Hardware Type | Best For | Benefits |
|---|---|---|
| Decorative Rods | Visible installations | Stylish and customizable |
| Track Systems | Modern, streamlined | Hidden and smooth operation |
| Tension Rods | Rental spaces | No wall damage, easy install |
| Motorized Rails | Smart homes | Remote and automated control |
Pro tip: Use a laser level to ensure perfectly straight and aligned hardware mounting points for professional-looking results.
Step 5: Check alignment and make finishing adjustments
The final refinement of your custom drapes transforms a good project into an exceptional window treatment. This critical stage ensures your hard work results in a professional, polished appearance that elevates your entire room’s aesthetic.
Professional drapery finishing requires precise alignment and detailed adjustments. Take time to inspect each panel carefully, examining how they hang, interact with the rod, and complement your window’s architectural lines. A meticulous approach will reveal subtle imperfections that can be corrected for a truly tailored look.
Key alignment and finishing steps include:
- Inspect Panel Evenness: Check for consistent hanging and drape
- Verify Rod Positioning: Ensure hardware remains level and secure
- Adjust Hem Lengths: Make minor corrections for uniform appearance
- Steam or Press: Eliminate wrinkles and create crisp lines
- Test Functionality: Open and close panels to confirm smooth movement
Perfection is in the details: Small adjustments can dramatically improve your drapes’ overall appearance.
When making final adjustments, pay close attention to panel symmetry and fabric behavior. Some fabrics may require additional weights or slight restructuring to achieve the desired hang and flow. Natural materials like cotton or linen might need extra care to maintain their intended shape.
Pro tip: Photograph your drapes from multiple angles to objectively assess their alignment and make precise adjustments.
Elevate Your Space with Perfectly Crafted Custom Drapes
Creating custom drapes with designer fabrics requires precise measurements, careful fabric selection, and expert finishing to achieve stunning results that enhance your home’s comfort and style. If you have struggled with finding high-quality materials or needed tailored support to bring your vision to life this detailed guide has you covered. From understanding fabric weight and texture to ensuring flawless hardware installation every step matters for a flawless window treatment.
At Beautiful Window Elgin, we understand these challenges and offer an extensive selection of premium custom drapery fabrics and accessories designed to simplify your project without compromising quality. Whether you are a homeowner, interior designer, or DIY enthusiast our personalized design consultations and custom services will help turn your precise window measurements and fabric choices into luxurious, professionally finished drapes that fit perfectly and last beautifully.

Start your journey today by exploring our exclusive range of designer fabrics and request samples to feel the difference firsthand. Don’t settle for generic drapes when you can create custom masterpieces that reflect your style and meet your practical needs. Visit Beautiful Window Elgin now and take advantage of expert guidance and trusted products crafted just for your perfect window treatment.
Frequently Asked Questions
How do I accurately measure my windows for custom drapes?
To measure your windows accurately, take the width measurement at three points—top, middle, and bottom—and use the smallest measurement. Measure the height from the top of the window frame to where you want the drapes to end, adding 4-6 inches for hanging and hem allowance.
What factors should I consider when selecting designer drapery fabrics?
When selecting designer fabrics, consider the weight, texture, light transmission, color and pattern, and maintenance requirements. Assess whether you need a fabric that provides insulation, allows light filtration, and complements your room decor.
What are the key steps to cut and sew fabric for drape panels?
First, prepare your workspace with a clean, flat surface. Mark cutting lines with chalk, then cut the fabric according to your measurements, and use appropriate hem techniques to finish the edges, ensuring strong seams that allow for natural movement of the fabric.
How do I properly install hardware for hanging custom drapes?
Choose hardware that complements the weight of your fabric and aesthetic style. Mark precise locations for mounting brackets above your window, then drill securely to attach them before hanging the drape panels, ensuring smooth operation and level alignment.
What adjustments should I make after hanging my custom drapes?
After hanging your drapes, inspect for evenness, verify rod positioning, and adjust hem lengths if necessary. Steaming or pressing can eliminate wrinkles and ensure a crisp, polished look for your finished project.
How can I ensure my custom drapes have a professional finish?
Check the alignment of each panel and make minor adjustments for symmetry. Test how the drapes open and close to confirm functionality, and consider taking photos to evaluate their appearance and make precise adjustments as needed.
Recommended
- Beautiful Windows Elgin | Shop Designer Fabrics by the Yard
- Purple pencil pleat curtain panel| 96" Length – Beautiful Windows Elgin | Shop Designer Fabrics by the Yard
- DUPIONI PEWTER GREY FRENCH PLEAT PANEL – Beautiful Windows Elgin | Shop Designer Fabrics by the Yard
- Information You Need—To-Know Before Buying Curtains – Beautiful Windows Elgin | Shop Designer Fabrics by the Yard