
DIY Custom Window Treatments: Step-by-Step Guide
DIY Custom Window Treatments: Step-by-Step Guide
Store-bought window treatments rarely fit your windows perfectly or match your unique style vision. Custom window treatments allow you to control every detail, from fabric selection to final measurements, creating professional results that transform your space. This guide walks you through the complete process of making your own lined curtains, from initial measurements to the finishing touches that deliver that tailored, designer look. Whether you’re tackling your first sewing project or looking to upgrade your skills, you’ll find clear instructions and practical tips to achieve beautiful, functional window treatments that enhance your home’s comfort and style.
Table of Contents
- Why choose custom window treatments?
- Tools and materials: What you’ll need to get started
- Step 1: Measure and calculate fabric for your window
- Step 2: Cutting panels, lining, and pinning for assembly
- Step 3: Sewing seams, hems, and header details
- Step 4: Training folds and achieving a custom finish
- Common mistakes and troubleshooting tips
- Ready to create your custom window treatments?
- Frequently asked questions
Key Takeaways
| Point | Details |
|---|---|
| Precise measurement | Accurate window and fabric measurements are crucial for a custom, professional look. |
| Quality tools | Investing in proper tools and materials ensures easier work and long-lasting window treatments. |
| Step-by-step assembly | Following each step—from cutting to finishing—makes custom results achievable even for beginners. |
| Professional finishing | Pressing seams and training folds creates the polished appearance of designer curtains. |
Why choose custom window treatments?
Many homeowners settle for ready-made curtains that almost fit or almost match their decor. Custom window treatments can transform style, improve comfort, and even cut energy costs, making them worth the extra effort. When you create your own treatments, you control fabric quality, fullness, length, and hardware choices to suit your exact needs.
The benefits extend beyond aesthetics. Quality fabrics paired with proper lining can significantly improve insulation, reducing heat loss in winter and blocking excessive sun in summer. This translates to lower energy bills and more comfortable living spaces year-round. Understanding the importance of custom window treatments helps you appreciate why this project delivers value far beyond the initial investment of time and materials.
Custom work also means perfect proportions. You decide the fullness ratio, ensuring your curtains have that luxurious gathered look rather than the flat, skimpy appearance of budget options. The [role of fabric in window treatments](https://www.beautifulwindowselgin.com/blogs/read-our-blog-for-sewing-inspiration/role of fabric window treatments) cannot be overstated, as your material choice affects drape, light control, durability, and overall aesthetic impact.
Key advantages of DIY custom treatments:
- Perfect fit for any window size or shape
- Complete control over fabric quality and pattern
- Professional fullness and drape
- Significant cost savings compared to professional workrooms
- Satisfaction of creating something beautiful for your home
“The difference between custom and ready-made treatments is immediately visible. Custom pieces hang better, last longer, and elevate the entire room’s appearance.”
Tools and materials: What you’ll need to get started
Now that you know why custom treatments are worth the effort, let’s make sure you have everything you need before starting. Gathering all tools and materials upfront prevents frustrating mid-project interruptions and ensures smooth progress from start to finish.
Essential tools for the project:
- Sewing machine with straight stitch capability
- Sharp fabric scissors (dedicated to fabric only)
- Metal tape measure (at least 120 inches)
- Straight pins and pincushion
- Iron and ironing board or steamer
- Seam ripper for corrections
- Fabric marking pen or tailor’s chalk
Materials you’ll need:
- Main curtain fabric (quantity calculated in next section)
- Lining fabric (same dimensions as main fabric)
- Matching thread for both fabrics
- Curtain rod and mounting hardware
- Optional: curtain rings or clips for hanging
| Tool Category | Specific Items | Purpose |
|---|---|---|
| Measuring | Metal tape measure, ruler, marking pen | Accurate dimensions and alignment |
| Cutting | Fabric scissors, rotary cutter (optional) | Clean, straight cuts |
| Sewing | Machine, thread, pins, seam ripper | Assembly and finishing |
| Pressing | Iron, ironing board, pressing cloth | Professional seams and hems |
| Installation | Rod, brackets, level, drill | Secure mounting |
Pro Tip: Invest in quality fabric scissors and keep them exclusively for fabric. Using them on paper or other materials dulls the blades quickly, leading to ragged cuts that compromise your finished product.
Proper fabric calculation and high-quality supplies ensure professional outcomes. Consult a drapery fabric selection guide to choose materials that suit your room’s needs, and familiarize yourself with window treatment terms to communicate clearly when purchasing supplies.
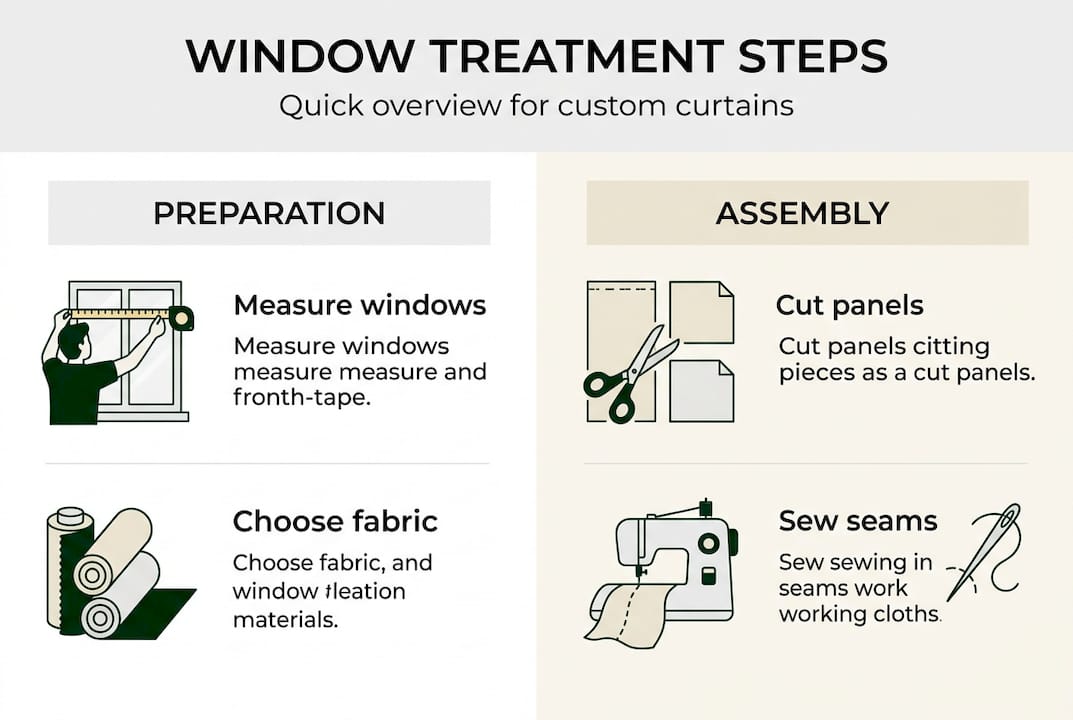
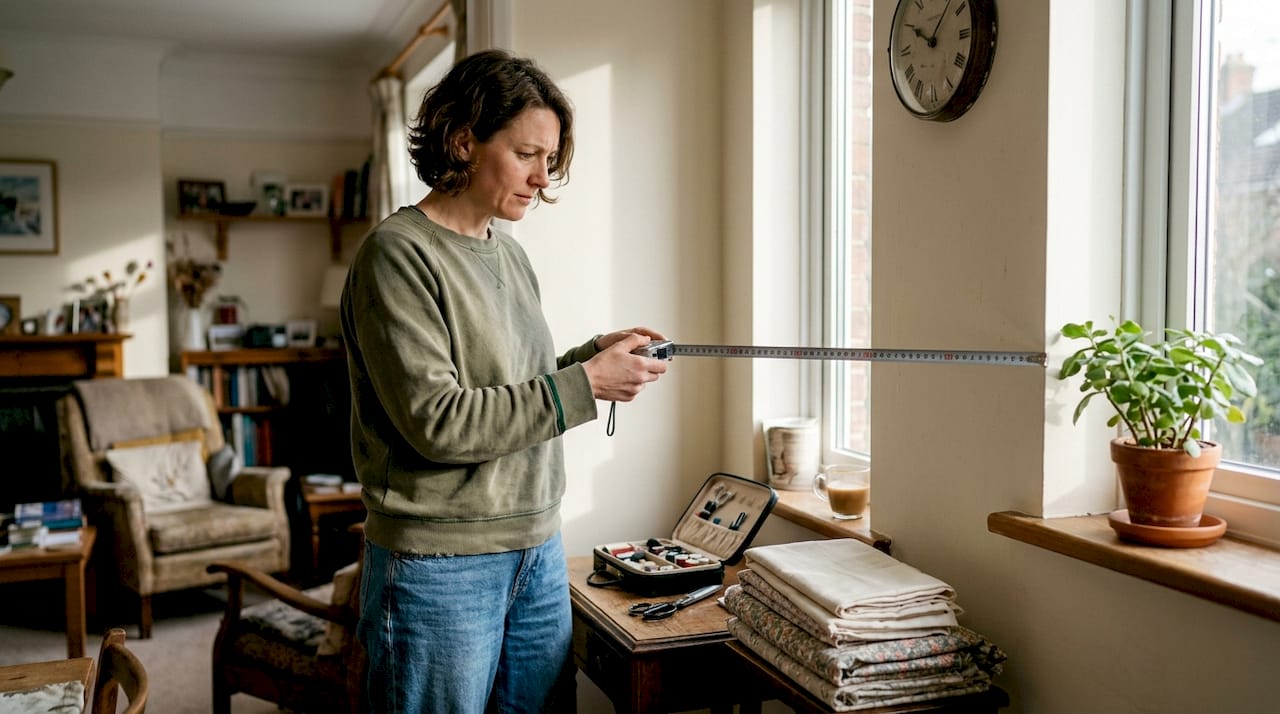
Step 1: Measure and calculate fabric for your window
With tools and materials ready, the next step is accurately measuring and calculating your fabric requirements. Precision here determines whether your finished curtains look custom or homemade.
Measuring your window:
- Measure width: Measure the width of your curtain rod, not the window itself. If you haven’t installed the rod yet, plan to extend it 4-6 inches beyond each side of the window frame for proper coverage.
- Measure height: Measure from the top of the rod to your desired endpoint. For floor-length curtains, measure to about 1/2 inch above the floor. For sill-length, measure to just below the sill.
- Account for rod placement: Note whether your rod sits inside the frame, just above it, or several inches higher. Higher placement makes ceilings appear taller.
Calculating fabric needed:
Calculate fabric as window width times 2-2.5 for fullness, plus hems. This fullness ratio creates the gathered, professional look that distinguishes custom treatments from flat, budget versions.
Width calculation: Multiply rod width by 2.5 (for luxurious fullness) or 2 (for moderate fullness). Add 4 inches total for side hems (2 inches per side). Divide by fabric width (typically 54 inches) to determine how many widths you need. Round up to the nearest whole number.
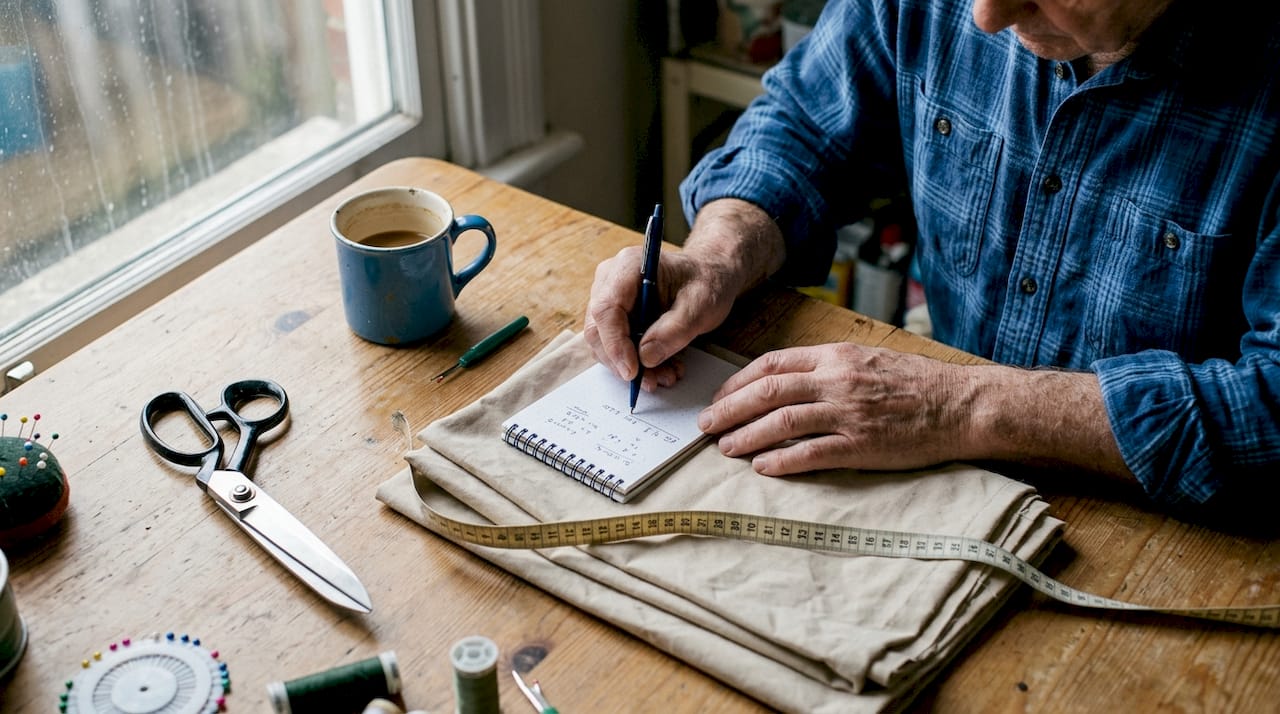
Length calculation: Add 8 inches to your measured length for bottom hem (4-inch double fold) plus 4-6 inches for the top header and rod pocket.
Example: For a 60-inch wide rod and 84-inch drop:
- Width: (60 × 2.5) + 4 = 154 inches ÷ 54 = 2.85, round to 3 widths
- Length: 84 + 8 + 6 = 98 inches per width
- Total fabric: 3 widths × 98 inches = 294 inches (8.2 yards)
Pro Tip: Fullness and proper measurement are crucial for a custom look. Don’t skimp on fabric to save money. Skimpy curtains look cheap regardless of fabric quality.
For odd-shaped or oversized windows, measure carefully at multiple points and use the largest dimension. Bay windows require measuring each section separately. Additional fabric calculation tips can help with complex situations.
Step 2: Cutting panels, lining, and pinning for assembly
After you’ve determined your dimensions, it’s time to move from planning to making, starting with cutting and assembling your materials. Accurate cutting and careful pinning set the foundation for professional results.
Cutting your fabric:
- Pre-wash and press: Wash and dry both main fabric and lining according to care instructions to prevent future shrinkage. Press thoroughly to remove wrinkles.
- Cut main fabric: Cut panels to calculated size and join lining and face with bagging method. Lay fabric on a large, flat surface. Measure and mark your panel dimensions using a fabric pen. Cut straight across using sharp scissors or a rotary cutter with a ruler guide.
- Cut lining: Cut lining fabric to the exact same dimensions as your main fabric panels.
- Check grain: Ensure you’re cutting along the fabric grain (parallel to the selvage edge) for panels that hang straight without twisting.
Assembling panels with the bagging method:
The bagging method creates clean, professional edges by sewing the lining and main fabric with right sides together, then turning the piece inside out.
- Layer fabrics: Place main fabric and lining right sides together, aligning all edges carefully.
- Pin edges: Pin along both side edges and the bottom edge, leaving the top edge open. Place pins perpendicular to the edge every 4-6 inches.
- Mark seam allowances: Use a fabric pen to mark a 1-inch seam allowance along pinned edges for consistent stitching.
Pro Tip: When pinning, smooth fabrics from the center outward to prevent puckering or bubbles. Take your time with this step, as proper alignment now prevents frustration during sewing.
Double-check that your lining and main fabric are perfectly aligned before proceeding to sewing. Any misalignment will be visible in the finished product. Consult guides on choosing drapery fabric if you’re uncertain about fabric compatibility or behavior.
“Precision in cutting and pinning determines whether your curtains look handmade or professionally crafted. Invest time in this preparation phase.”
Step 3: Sewing seams, hems, and header details
With everything cut and pinned, you’re ready to start sewing and finishing off your panels. This is where your curtains take their final shape and character.
Sewing the bagged edges:
- Sew sides and bottom: Using a straight stitch and 1-inch seam allowance, sew down one side, across the bottom, and up the other side. Backstitch at the beginning and end to secure seams.
- Clip corners: Trim excess fabric from bottom corners at a 45-degree angle, being careful not to cut through stitching. This reduces bulk for crisp corners when turned.
- Turn right side out: Reach through the open top edge and pull the panel through, turning it right side out. Use a blunt tool to gently push out corners.
- Press seams: Press all sewn edges flat, rolling the seam slightly toward the lining side so it won’t show from the front.
Creating the hem and header:
Hem bottoms (4in double), sides (1in double); create rod pocket header. Since you’ve already sewn the sides and bottom using the bagging method, focus now on the top header.
- Fold top edge: Fold the raw top edges of both fabrics together toward the lining side. Press to create a crisp fold.
- Create rod pocket: Fold again to create your rod pocket depth (typically 3-4 inches for standard rods). Pin across the width.
- Stitch pocket: Sew straight across the bottom of the fold to create the rod pocket. For a header ruffle above the rod, sew a second line 1-2 inches above the first.
- Finish edges: If desired, topstitch along the side edges for extra security and a tailored appearance.
Pro Tip: Press seams as you go for crisp, professional results. A hot iron is your secret weapon for making home-sewn items look store-bought. Use a pressing cloth on delicate fabrics to prevent shine or damage.
For alternative hanging methods, you might create tab tops, grommets, or pleated headers instead of a rod pocket. Each style requires different header construction but follows the same basic principles of clean finishing and secure stitching. Explore custom window treatment finishes for additional style options.
Step 4: Training folds and achieving a custom finish
Once your panels are sewn, it’s time for the finishing touches that make your work look truly custom. Training the folds transforms sewn fabric into elegant, professionally draped curtains.
Installing your curtains:
- Mount hardware: Install your curtain rod according to manufacturer instructions, ensuring it’s level and securely anchored.
- Hang panels: Thread the rod through the rod pocket or attach panels using rings or clips. Distribute fullness evenly across the rod.
- Adjust length: Verify that panels hang at the correct length. Make any necessary adjustments before training folds.
Training the folds:
Train folds with clips/steam for custom look. This process encourages fabric to fall in consistent, elegant pleats rather than random bunches.
- Create fold lines: Starting from the top, use your hands to create evenly spaced vertical folds along the width of each panel. Aim for folds every 4-6 inches.
- Secure with clips: Use large binder clips or curtain clips to hold folds in place from top to bottom of each panel.
- Steam treatment: Use a garment steamer or steam iron (held slightly away from fabric) to set the folds. Work from top to bottom, allowing steam to penetrate the fabric.
- Leave clipped: Keep clips in place for 2-3 days, allowing folds to set naturally.
| Training Stage | Duration | Action |
|---|---|---|
| Initial fold creation | 30 minutes | Arrange even vertical pleats |
| Clipping | 2-3 days | Secure folds with clips |
| Steam setting | 15 minutes per panel | Apply steam to set creases |
| Final adjustment | Ongoing | Remove clips, adjust as needed |
Troubleshooting common issues:
- Uneven hem: If one side hangs lower, adjust the rod pocket or re-press the hem before rehanging.
- Stubborn fabric: Some fabrics resist training. Leave clips on longer or use fabric stiffener spray.
- Gaps at sides: Extend your rod further beyond the window frame or add a third panel for better coverage.
Pro Tip: For the most professional appearance, train folds immediately after hanging. Fresh-from-the-sewing-machine fabric is more pliable and accepts training more readily than fabric that’s been hanging loosely for days.
Consider how your fabric choice affects energy efficiency. Certain materials and lining combinations provide superior insulation. Review [energy-saving curtain styles](https://www.beautifulwindowselgin.com/blogs/read-our-blog-for-sewing-inspiration/top-window treatment styles energy savings proven) to maximize your curtains’ functional benefits alongside their aesthetic appeal.
Common mistakes and troubleshooting tips
Even with a careful process, mistakes can happen. Here’s how to prevent or fix them and achieve a flawless result. Learning from common pitfalls helps you avoid frustration and wasted materials.
The most frequent errors:
- Inaccurate measuring: Measuring the window instead of the rod, or forgetting to add hem allowances, leads to panels that are too small.
- Insufficient fullness: Skimping on fabric width creates flat, cheap-looking curtains that lack the gathered elegance of custom treatments.
- Wrong fabric choice: Selecting fabric that’s too heavy for your rod, too light to drape well, or incompatible with your room’s humidity and light conditions.
- Skipping pre-washing: Unwashed fabric may shrink after the first cleaning, leaving you with curtains that no longer reach the floor.
- Misaligned seams: Rushing the pinning process results in crooked seams and uneven hems that are difficult to correct.
Quick fixes for common problems:
If you discover a mistake before completing your project, most issues can be corrected. A seam ripper is invaluable for removing incorrect stitching without damaging fabric. For panels that ended up too short, consider adding a decorative border or trim to the bottom to gain needed length while creating a custom design element.
For panels that are too narrow, you can add side panels in a coordinating fabric to increase width while creating an intentional color-blocked or layered look. If your fabric puckers or gathers unevenly, check your machine tension and presser foot pressure, then re-press and re-sew the affected section.
Pro Tip: Always pre-wash and iron fabric before cutting. This single step prevents the majority of sizing and shrinkage issues that plague DIY curtain projects. Accurate measurement and patience yield professional results.
“The difference between amateur and professional results often comes down to preparation. Measure twice, cut once, and press everything.”
Understanding how different fabric choices impact](https://www.beautifulwindowselgin.com/blogs/read-our-blog-for-sewing-inspiration/role of fabric window treatments) your final results helps you select appropriate materials from the start. Familiarize yourself with [window treatment terminology to communicate effectively when seeking advice or purchasing supplies.
Ready to create your custom window treatments?
You now have the complete roadmap for creating professional-quality custom window treatments in your own home. The process requires patience and attention to detail, but the results deliver lasting value and satisfaction that ready-made options simply cannot match.
At Beautiful Window Elgin, we provide everything you need to bring your custom curtain vision to life. Our extensive selection of designer drapery fabrics includes cotton, embroidered, and jacquard satin options perfect for any room’s style and functional requirements. We offer fabric samples so you can test colors and textures in your space before committing to your project.

Beyond fabric, we stock all the essential accessories and hardware for professional installation, from curtain rods and rings to lining materials and coordinating trim. Our team understands the unique challenges of DIY window treatment projects and can provide guidance on fabric selection, yardage calculations, and technique questions. Whether you’re creating curtains for a single window or outfitting your entire home, we’re here to support your success with quality materials and expert knowledge. Visit our showroom in Columbia, SC, or shop online to start your custom window treatment project today.
Frequently asked questions
How do I calculate fabric for lined curtains?
Multiply your window width by 2 to 2.5 for fullness, then add extra for hems and headers; always measure before buying. Calculate fabric as window width times 2-2.5 for fullness, plus hems.
What tools do I need to sew custom window treatments?
You’ll need a sewing machine, sharp scissors, measuring tape, pins, chosen fabrics, and curtain hardware for installation. Quality tools make the process smoother and results more professional.
What is the bagging method for lined curtains?
The bagging method involves sewing lining and main fabric with right sides together, turning inside out, and pressing for clean edges. Join lining and face with bagging method (sew sides/bottom, turn).
How do I get curtains to hang with perfect folds?
Train the folds with clips and steam for a few days after hanging to create that tailored, custom look. Train folds with clips/steam for custom look.
Can I make custom window treatments with minimal sewing experience?
Yes, with careful measuring, standard sewing skills, and a detailed guide, even beginners can achieve professional results. Start with simple rod-pocket curtains before attempting more complex pleated or grommet styles.
Recommended
- Install Window Treatments in 1 Hour: Pro DIY Guide – Shop Designer Fabrics by the Yard | Curtains & Drapery
- Why Custom Window Treatments Matter for Homes – Shop Designer Fabrics by the Yard | Curtains & Drapery
- What Is Window Treatment? Cut Energy Costs by 25% in 2026 – Shop Designer Fabrics by the Yard | Curtains & Drapery
- 7 Essential Window Treatment Fabric Tips for Homeowners – Shop Designer Fabrics by the Yard | Curtains & Drapery