
Step by Step Curtain Making for a Polished DIY Finish
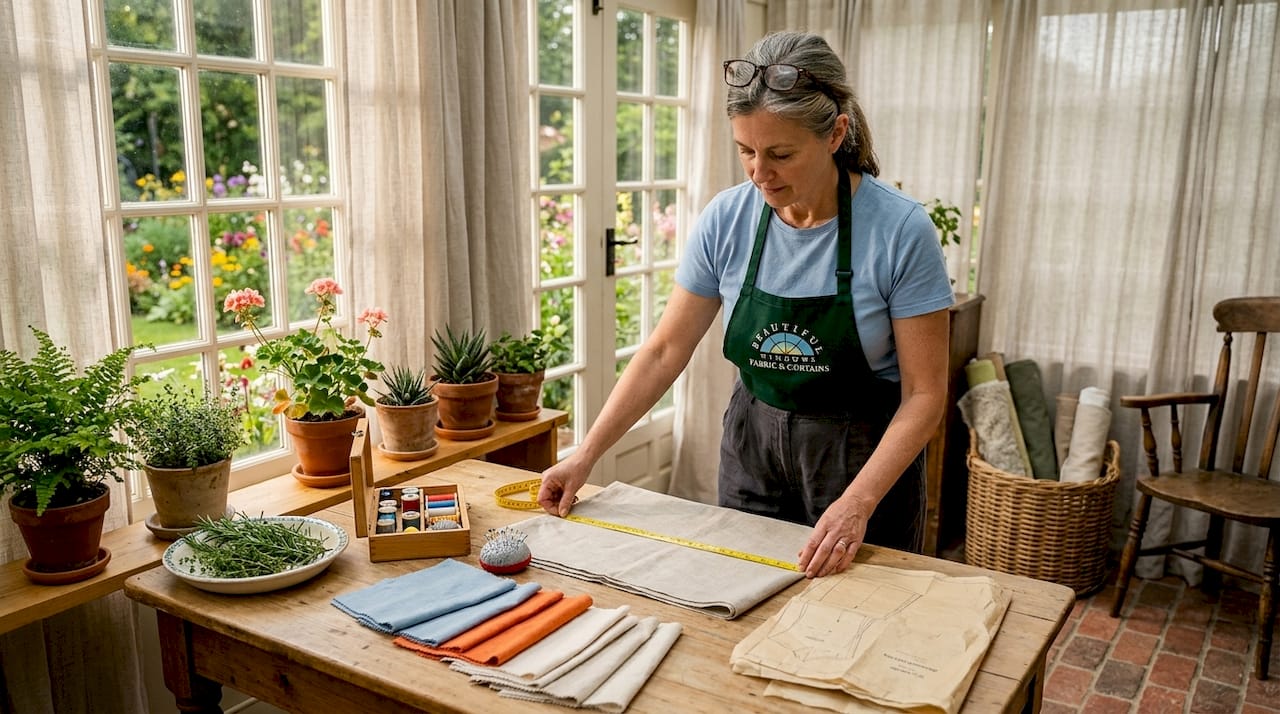
TL;DR:Making your own curtains is a rewarding DIY home upgrade achievable with precise measurements, suitable fabric, and proper technique. Accurate window and fabric measurements, along with careful sewing and hanging adjustments, ensure a polished, custom look. Focus on proper grain alignment, neat hems, and level hardware to create professional-quality curtains without professional help.
Making your own curtains is one of the most rewarding home upgrades you can tackle without hiring a professional. The step by step curtain making process sounds complex at first, but with accurate measurements, the right fabric, and a clear construction sequence, you can produce panels that look custom-made. This guide walks you through every stage, from gathering your tools to hanging the finished panels, with the kind of detail that turns a hesitant beginner into a confident sewist. Whether you’re working with crisp linen or a richly textured jacquard, the same foundational rules apply.
Table of Contents
- Key Takeaways
- Tools and materials you need
- Measuring and calculating fabric
- Sewing your curtain panels
- Hanging and adjusting your curtains
- Troubleshooting and finishing touches
- My honest take on the curtain-making process
- Take your curtains further with Beautifulwindowselgin
- FAQ
Key Takeaways
| Point | Details |
|---|---|
| Measure before you cut | Accurate window measurements prevent costly fabric waste and uneven panels. |
| Fullness ratio matters | Use 1.5 to 2.5 times the window width for panels that drape with real volume. |
| Cut on the straight grain | Fabric cut off-grain will sag and twist no matter how carefully you sew. |
| Hang before final hemming | Pinning hems while panels are hung corrects for uneven floors and frames. |
| Hardware supports the result | Level rods and correctly sized brackets are just as important as sewing quality. |
Tools and materials you need
Before cutting a single inch of fabric, gather everything in one place. Starting without the right tools midway through is how small mistakes become big problems.
Sewing tools
| Tool | Purpose |
|---|---|
| Sewing machine | Main construction of seams and hems |
| Sharp fabric scissors | Clean, accurate cuts along grain lines |
| Seam ripper | Correcting sewing errors without damaging fabric |
| Measuring tape and ruler | Accurate measurement of fabric and windows |
| Pins and clips | Holding fabric layers in place before sewing |
| Iron and ironing board | Pressing hems and seams for a crisp finish |
These basics apply to any curtain style. You may also want a rotary cutter and cutting mat for long, straight cuts on heavier fabrics like upholstery-weight textiles.
Materials
- Main fabric: Drapery-weight options such as jacquard, velvet, linen, or embroidered fabric work well. Sheer fabrics require a more delicate approach.
- Lining fabric: Sateen lining adds body, protects the main fabric from UV damage, and improves drape.
- Thread: Match thread weight to fabric weight. Use polyester thread for most drapery projects.
- Curtain tape or heading tape: Simplifies gathering and pleat creation without complex hand-stitching.
- Curtain hooks or rings: Required if you are using heading tape or eyelet rings.
- Curtain rod: Choose a diameter and finish that suits the room’s style.
Pro Tip: Choose your fabric before finalizing the rod style. Heavier textiles pair with thicker rods and center-support brackets, while lightweight sheers can hang on a slim tension rod without support issues. Check out these fabric selection tips before purchasing.
Measuring and calculating fabric
This stage is where most DIY curtain projects succeed or fail. Inaccurate measurements lead to panels that are too narrow, too short, or so spare they barely cover the window.
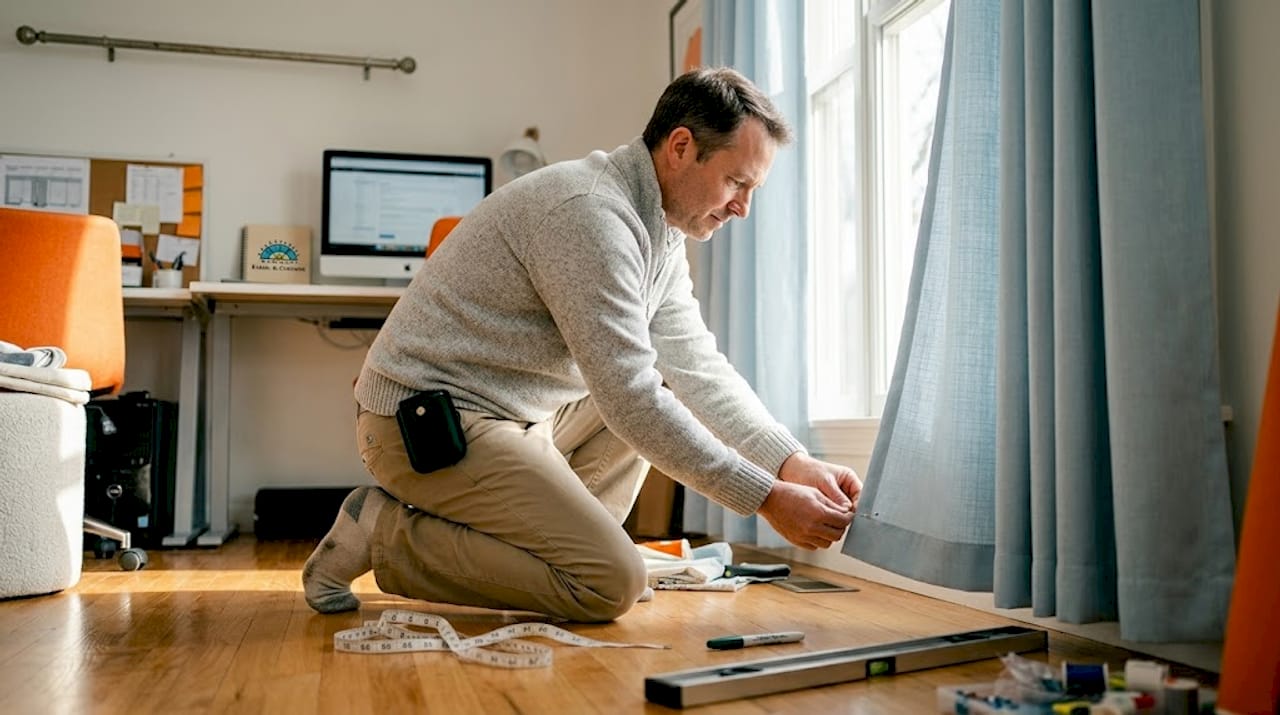
Step 1: Measure your window
- Mount your curtain rod before measuring. The rod position determines curtain drop and visual proportion.
- Measure the rod width from bracket to bracket. This is your finished curtain width reference.
- Measure the drop from the rod to where you want the curtain to fall. Common options include just above the floor (1 inch clearance), a soft “kiss” at the floor, or a deliberate puddle of 4 to 6 inches.
- Record both numbers before doing any calculations.
Step 2: Calculate fabric width
Curtain panels need 1.5 to 2.5 times the window width for proper fullness. Rod pocket and tab-top styles use the lower end of that range (1.5 to 2x), while pinch-pleated panels call for 2 to 2.5 times the rod width.
| Curtain style | Fullness multiplier | Fabric width per panel |
|---|---|---|
| Rod pocket / tab top | 1.5 to 2x | Rod width x 1.5 to 2 |
| Eyelet / grommet | 2x | Rod width x 2 |
| Pinch pleat | 2 to 2.5x | Rod width x 2 to 2.5 |
Divide the total fabric width by the number of panels you plan to hang to determine the cut width per panel.
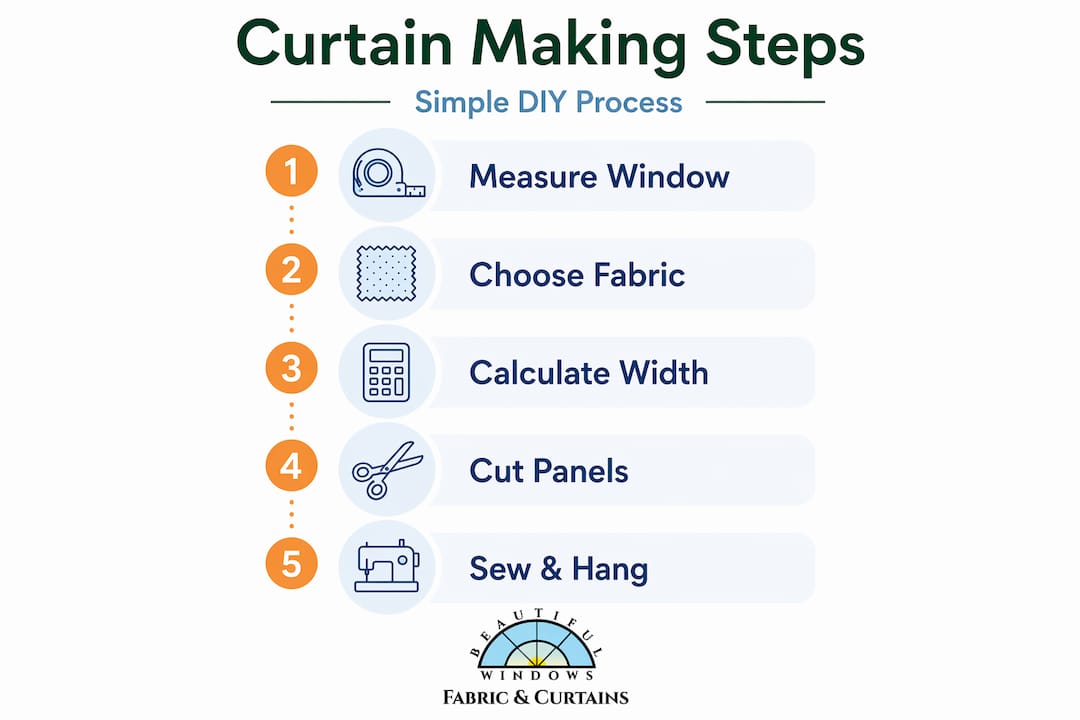
Step 3: Calculate fabric length
Start with your measured drop and add allowances. Adding 8 to 10 inches accounts for a top header or rod pocket and a bottom hem. A standard breakdown looks like this:
- Bottom hem allowance: 8 inches (for a 4-inch double-fold hem)
- Top header or rod pocket allowance: 4 to 6 inches depending on style
- Seam allowance at top: 1 inch
- Extra for pattern matching (if applicable): one full pattern repeat
Pro Tip: Always add at least 4 extra inches to your cut length to allow for adjustments during the hanging phase. Cutting too short leaves no room to fix uneven floors or frames.
Sewing your curtain panels
With fabric cut and tools ready, the actual construction follows a logical sequence. Work methodically and press after each step.
- Lay out and align the grain. Place fabric on a large flat surface. Cutting on the true straight grain is non-negotiable. Pull a single thread across the width to reveal the true grain line, then cut along that line. A deviation here will cause panels to hang crooked, and no amount of pressing will fix it.
- Sew the side hems. Fold each side edge 1 inch toward the wrong side, press, fold again 1 inch, and press again. Stitch close to the inner fold. Keep the stitch line straight by using a seam guide or edge of your presser foot as a reference.
- Create the bottom hem. A 4-inch double-fold bottom hem adds the weight that gives panels their structured drape. Fold 4 inches up, press, fold another 4 inches up, press firmly, then stitch across. Heavier fabrics benefit from mitered corners at the bottom to reduce bulk.
- Construct the header. Choose your style:
- Rod pocket: Fold the top down by 1 inch, press, then fold down the depth of the rod pocket plus 1 inch for a ruffle. Stitch along the bottom fold of the pocket and again 1 inch from the top for the ruffle channel.
- Tab top: Cut fabric strips, fold and sew into loops, then attach evenly spaced along the top edge before folding the header down and stitching.
- Curtain tape / heading tape: Pin tape along the wrong side of the top hem, stitch along all four edges of the tape, then pull the cords to gather fabric to the desired width.
- Attach hooks or rings. If using heading tape, insert curtain hooks into the pockets at even intervals. For pinch pleats, adjust pleat returns by eye rather than following fixed spacing rules. Experienced crafters know that manual tweaking of pleats during construction yields a cleaner, more natural result than rigid formula spacing.
- Press the entire panel. Use a pressing cloth for delicate or textured fabrics. Press seams flat, not open, for curtains. Steam helps relax the fabric and settle the hang.
Pro Tip: Sew side hems before the bottom hem. This order lets you miter the corners neatly and prevents raw edges from showing at the fold.
Common sewing considerations
- Use the same thread tension and stitch length throughout each panel for consistency.
- Sew both panels of a pair in the same direction (top to bottom) to prevent the fabric grain from twisting differently between panels.
- For lined curtains, construct the lining as a separate panel, slightly smaller than the main fabric, and attach at the top seam before finishing the header.
Hanging and adjusting your curtains
The hanging phase is not just installation. It is the final quality check that separates a polished result from a project that looks homemade in the wrong sense.
- Hang panels before finalizing the hem. Pinning hem lengths while curtains are hung accommodates floor irregularities that fixed measurements cannot predict. Most floors have at least minor variations that affect how panels sit.
- Check that the rod is level. Uneven hems and sagging panels often trace back to bracket placement errors, not sewing flaws. Use a level every time.
- Choose your floor clearance style. A hover (1 inch off the floor) looks clean and practical. A kiss (just touching the floor) creates a tailored feel. A puddle (4 to 6 inches pooling) reads as formal and intentional.
- Space hooks or tabs evenly. Uneven spacing creates visible bunching or gaps. Measure and mark positions before attaching.
- Assess fullness from across the room. Stand back and look at the panel from a distance. Adjust gathers by hand so the fullness distributes evenly across the rod. For the hardware to support the fabric weight, heavier drapes need rods with a diameter of 28 to 35 mm and center-support brackets to prevent sagging in the middle.
Pro Tip: After hanging, give curtains 24 to 48 hours before finalizing hem length. Fabric stretches slightly under its own weight, particularly with heavier textiles.
For a thorough walkthrough on installation, Beautifulwindowselgin’s curtain installation guide covers bracket placement and leveling in precise detail.
Troubleshooting and finishing touches
Even well-executed projects encounter small issues. Knowing how to address them without restarting saves time and material.
- Crooked cuts: If a panel hangs off-grain, steam and re-press may help slightly, but the real fix is recutting. Prevent this by always pulling a thread to find the true grain before cutting.
- Uneven hems: Re-pin while hanging, re-press, and re-stitch. A hem that looks off by even half an inch is visible from across the room.
- Fabric shrinkage: Pre-wash all washable fabrics before cutting. For dry-clean fabrics, allow a small shrinkage buffer in cut length.
- Sagging in the center of the rod: Add a center bracket. This is especially relevant when using heavier fabrics that require stiffer rods and center support.
The finishing details that matter most are the ones you notice before other people do. A well-pressed hem, an evenly spaced pleat, and a truly level rod communicate craftsmanship more clearly than the fabric price tag.
Adding a lining after the fact is possible but impractical. If you are working with a sheer or lightweight fabric in a sunny room, build lining into the original construction rather than treating it as optional.
My honest take on the curtain-making process
I’ve watched plenty of DIY curtain projects go sideways at completely predictable points. The grain line is the most underestimated step in any curtain making tutorial. People skip it because it feels tedious, and then spend hours wondering why a panel that was sewn perfectly still hangs wrong.
My experience has also taught me that the quality of installation contributes more to perceived curtain quality than sewing precision does. I’ve seen beautifully sewn panels look mediocre because the rod was 2 degrees off level. I’ve also seen fairly basic sewing work look genuinely elegant on a properly mounted rod with the right fullness ratio. This tells me that time spent on hardware and hanging is never wasted.
The other lesson I’d pass along is to stop chasing perfection in the seams and focus on neatness instead. Perfectly straight hems and consistently pressed folds read as professional. Microscopic sewing deviations that only you can see do not matter. Give yourself permission to adjust pleat spacing visually rather than mathematically, and the result will feel more natural and refined. If your home design checklist includes multiple window treatments, tackle one room at a time so skills build progressively rather than spreading errors across your whole home.
— Marrion
Take your curtains further with Beautifulwindowselgin
The quality of your finished curtains reflects the quality of fabric you start with. Beautifulwindowselgin carries a curated selection of designer drapery fabrics including jacquard satin, embroidered textiles, and upholstery-weight materials, all sold by the yard with nationwide shipping. These are the same fabric types used in professional drapery workrooms, which means your DIY panels will have the weight, structure, and visual refinement that lighter retail fabrics simply cannot deliver. If you want to remove the guesswork entirely, Beautifulwindowselgin also offers a professional measurement service to verify your window dimensions and recommend appropriate fullness ratios before you purchase fabric. Combining accurate professional measurements with premium materials is the most reliable path to custom window treatments that genuinely look the part.
FAQ
How much fabric do I need for curtain panels?
Multiply your rod width by 1.5 to 2.5 depending on the curtain style, then add 8 to 10 inches for top and bottom hem allowances. Fullness of 1.5 to 2.5 times the window width is the professional standard for panels that drape with volume.
What is the best hem for DIY curtains?
A 4-inch double-fold bottom hem is the most reliable choice for DIY projects. It adds weight, prevents curling, and produces a clean, tailored finish that holds its shape over time.
Should I line my curtains?
Lining adds body, improves drape, extends fabric life by blocking UV, and gives panels a more structured silhouette. For medium to heavyweight drapery fabrics, lining is strongly recommended rather than optional.
How do I make sure my curtains hang evenly?
Hang panels temporarily before sewing the final hem to account for uneven floors, then use a level to confirm the rod is perfectly horizontal before permanently mounting hardware.
What sewing skill level do you need for curtain making?
Beginner curtain sewing requires only basic straight-stitch skills on a standard machine. The most critical skills are accurate measuring, clean pressing, and cutting precisely on the fabric grain rather than advanced stitching techniques.
Recommended
- Curtain Style Selection Process for Custom Drapery Success – Shop Designer Fabrics by the Yard | Curtains & Drapery
- Step-by-step curtain installation: the complete DIY guide – Fabric Store in Columbia, SC | Drapery Making Services
- Curtain hardware setup: a complete DIY guide – Fabric Store in Columbia, SC | Drapery Making Services
- Step-by-step custom drapery workflow for flawless results – Fabric Store in Columbia, SC | Drapery Making Services